Sometimes, while doing tedious housework, I like listening to lectures from TED.com. It's allways so inspiring and I am going through many different topics. Today, I heard the graphic designer Paula Scher talk about design and the difference between serious (which to her was the playfull and realy creative frame of mind) and solemn, which can still result in great products, just not true development. This is 22 minutes of a wise woman talking on the design process and how you, as a designer/artist devolpe (or not). Enjoy!

Friday, November 27, 2009
Wednesday, November 25, 2009
Cousins for cake and jewelry
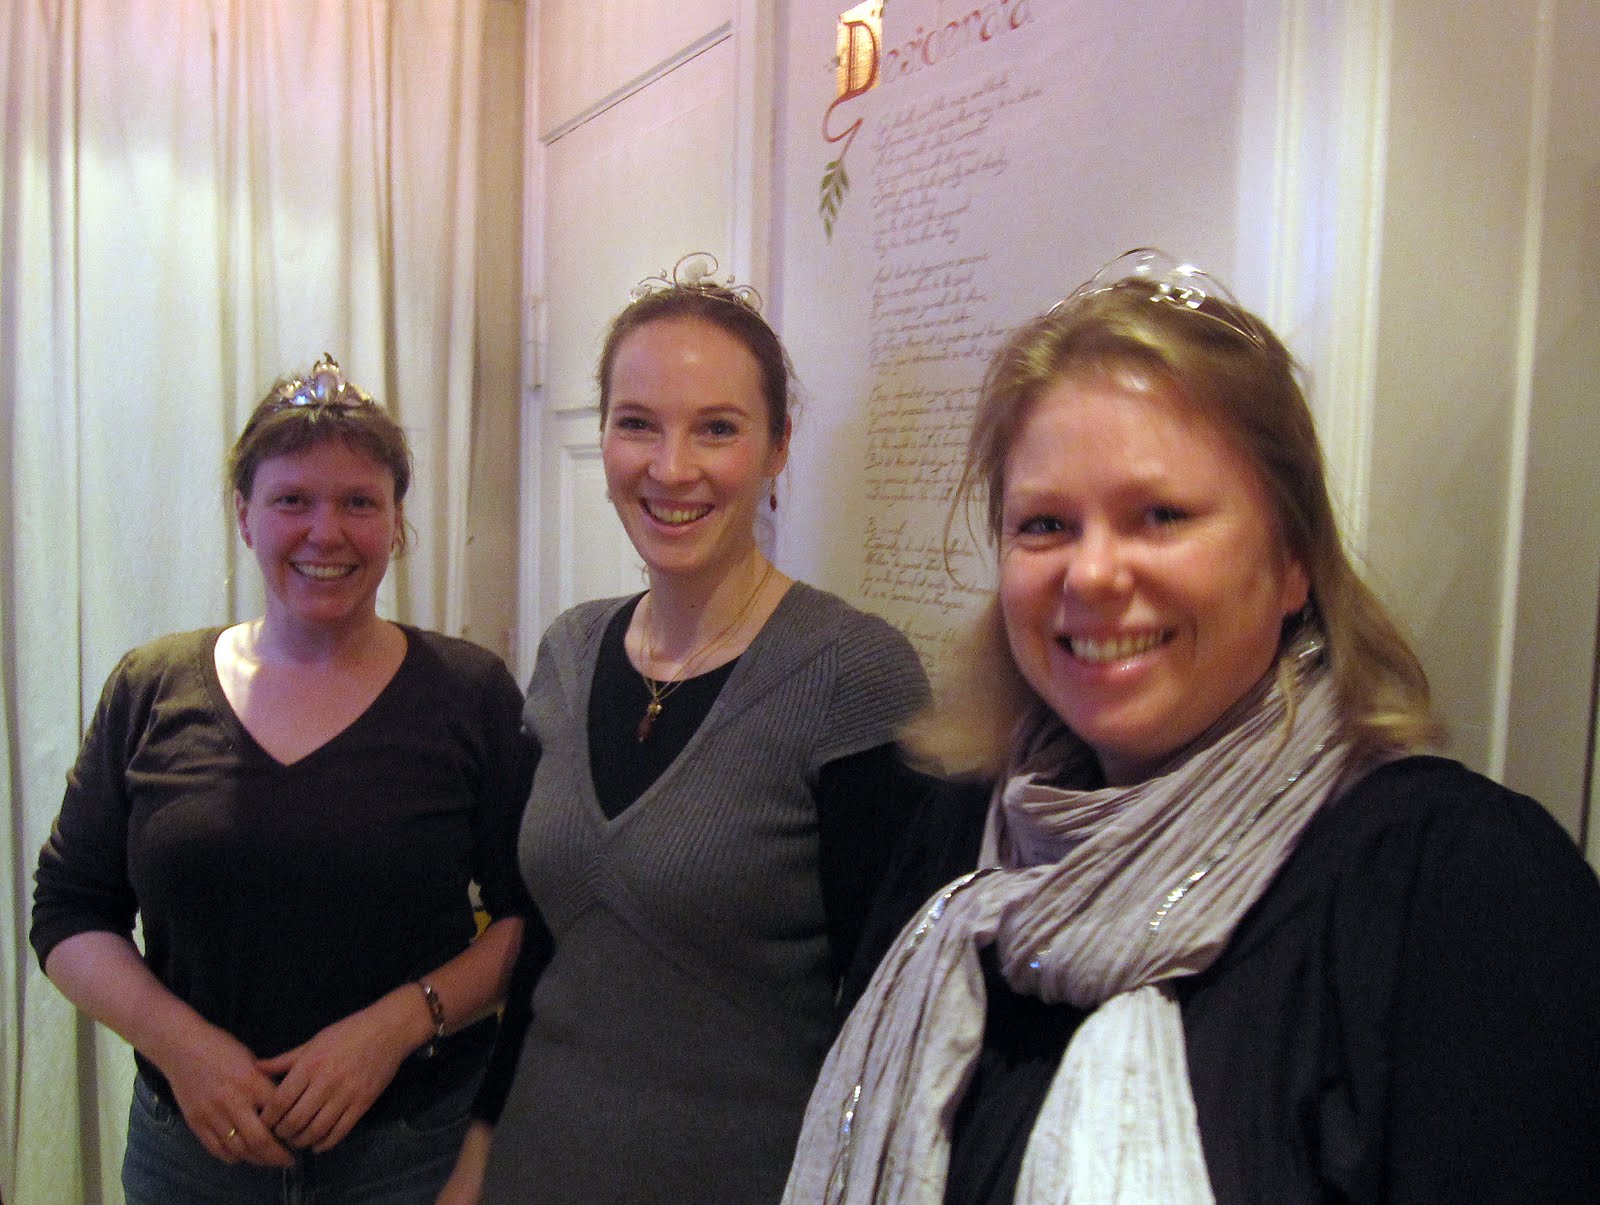
Last week-end I had most of my female cousins over for a BYO cake and chat get-together. It was SO cosy and when we talked about what I was currently doing, obviously I was talking jewelry -and showed them the goods now I was at it. That turned out to be quite fun! There was a lot of oohhs and aahs and "wouldn't this look lovely with these purple ones?" -amongs stuffing ourselved with cake, obviously. And two of them even (took pity?) and bought some from me! :-D

Eventually they all ended up trying out some of my tiaras and I just had to get a snapshot. Slightly blurry, unfortunately, but I still find it's a great picture. Love ya girls!


Thursday, November 19, 2009
My "Gold Storm" resin experiment
Years ago, when I was studying at the Institute of Precious Metals, I did a few experiments with casting resin and I realy wanted to work with this material again. Now, here in Denmark, that isn’t very easy due to the fact that you can’t buy Easy Cast or any other similar product. It has apparently been decided, that this product is too dangerous for the regular Jane Doe to work with.
That of cause isn’t stopping me I just had to find a similar product, sold as something else than “crafting material”. And I succeeded, with the help of a colleague, Lene Hald (see her amazing and very modern jewelry here http://www.formverk.dk/lene.html). She told me to buy epoxy glue (!), more specific Araldite 2020. Yay! Well, apart from the fact that this is an industrial product, impossible to buy in any DIY store, but is only sold by the industry. However, Lene had a connection, and so I drove (thank you Michael for borrowing your car) to northern Seeland in order to buy half a kilo of industrial glue from a factory producing plastic components.
And THEN it was time for my experiment! I created two sets of frames by bending narrow strips of silver sheet and soldering them closed.

Here they are, ready to be filled:

Then I set up for the casting: Cut out four squares of a plastic folder and treated them with four different agents to release my work again: (olive)oil, silicone (actually a make-up primer from Gosh), bees wax and molten stearine/candle wax. Here we have the entire line-up with the Araldite and the gold leaf that I was going to put into the resin in small pieces. This is genuine 24 carat and the color is stunning –just like the gold from the ancient Tut Anch Amun grave in Egypt. I love it!

Here I have poured into the stearine mold, which was the one that worked the best. The others of cause (doh!) leaked the resin and so had to be refilled when it was half hardened. So not only two resin-casting-processes, but also a LOT of tidying up afterwards! I guess I knew that –the stearine experiment shows it, but I was kind of hoping that the weight of the silver would be enough to keep the frame down –noooot!

I let the whole thing cure under a dust cover for 2 days and then used literally hours to cut off the spilled resin, file and sand down to make both sides absolutely level and smooth. The final result came out quite nice though:


Would you like to buy these earrings? Do so here
That of cause isn’t stopping me I just had to find a similar product, sold as something else than “crafting material”. And I succeeded, with the help of a colleague, Lene Hald (see her amazing and very modern jewelry here http://www.formverk.dk/lene.html). She told me to buy epoxy glue (!), more specific Araldite 2020. Yay! Well, apart from the fact that this is an industrial product, impossible to buy in any DIY store, but is only sold by the industry. However, Lene had a connection, and so I drove (thank you Michael for borrowing your car) to northern Seeland in order to buy half a kilo of industrial glue from a factory producing plastic components.
And THEN it was time for my experiment! I created two sets of frames by bending narrow strips of silver sheet and soldering them closed.

Here they are, ready to be filled:

Then I set up for the casting: Cut out four squares of a plastic folder and treated them with four different agents to release my work again: (olive)oil, silicone (actually a make-up primer from Gosh), bees wax and molten stearine/candle wax. Here we have the entire line-up with the Araldite and the gold leaf that I was going to put into the resin in small pieces. This is genuine 24 carat and the color is stunning –just like the gold from the ancient Tut Anch Amun grave in Egypt. I love it!

Here I have poured into the stearine mold, which was the one that worked the best. The others of cause (doh!) leaked the resin and so had to be refilled when it was half hardened. So not only two resin-casting-processes, but also a LOT of tidying up afterwards! I guess I knew that –the stearine experiment shows it, but I was kind of hoping that the weight of the silver would be enough to keep the frame down –noooot!

I let the whole thing cure under a dust cover for 2 days and then used literally hours to cut off the spilled resin, file and sand down to make both sides absolutely level and smooth. The final result came out quite nice though:

So, what did I learn?
1. Loose frames have to be anchored and have a bit of walling unless I work in two rounds
2. Wax and stearine are a bit too messy to work with and leave some residue to be scraped off
3. Oil and silicone both work well
4. Use old fashioned play dough (the kind that doesn’t dry) for fixating and walling
5. Wait for 2 hours before pouring the mixed resin. It is very slowly drying and the small gold flakes will just fall to the bottom if the resin hasn’t started to cure just a little bit
It took way too long to create these earrings with all the renovating, but I’m still very satisfied with them and now know how to do it better the next time.

Monday, November 9, 2009
My first custom made piece within Etsy
I got a convo on Etsy regarding my “Silver waves -Soft and chunky sterling silver and 18 carat gold ring art nouveau style”. I was asked if I had one in the size 6 (this one is 6,5). I don’t, but I have a few more of the untreated and freshly cast versions, which can be made smaller by cutting out a section of the ring shank and then re-soldering it. I asked the customer if she wanted to use to opportunity to have it custom made to her specific taste and she grabbed the chance. She wanted the ring very much like the original, but with the surface structured instead of polished. In addition we decided to put yet another ball of gold onto the last curl.
Once all the details had been agreed on, I happily went to my workshop today and here is the process:
When I had reduced the size I set out to file away the casting grooves and in the same process provide the surface with a structure. To me it made sense to take advantage of the many curved surfaces that meet and part and let the filing direction follow these surfaces. The result, I realized, was very much like the fur of my old cat Sebastian –a fantastically beautiful Abyssinian. These cats are very slender and agile and their short fur (with tickings) show off their amazing body to the max –and so did the filed surface of this ring! Here I have partly filed it –to show the difference

Here is the finished version with the original raw –and freshly cast one. The white is hiding the shine of the underlying silver very efficiently…

Then it was time to bend the gold wire, which took a little trial and error since it had to bend in two different directions and fit perfectly before I could solder it on. It’s always somewhat nerve wrecking to work with gold since it’s such a darned expensive material –approximately 40 times more expensive than silver! In order not to let any of it go to waste, you collect the filing dust on a sheet of paper as you work and save it for later cash-in.
After soldering the gold on and etching, the ring looks finished in shape, but awfully dull –the white zombie-look from the freshly cast version is back.

So, into the vile-smelling oxidization-bath (only to be done outside, in spite of the rain pouring down) and out comes something almost as dull looking, but now darker.

I love the transformation that happens when the final polishing sets in. It’s a bit like my childhoods magic markers –I t looks horrible, and all of a sudden, magic happens! Same here –Silver starts to shine and the item in my hands turns into a gorgeous piece of jewelry. Here it is (to the right) together with the original (to the left)
 Nice, isn’t it?
If you want to buy the original, you can do so here. The “naked” version, without any gold or oxidization is here.
This story has an add-on:
Sadly, my customer experienced a terrible mishab: One of the bigger golden balls fell off! Obviously I hadn't been soldering it thoroughly enough and of cause took it back immediately to change it. Then we atsrted chatting again. perhaps a few more changes, now I was at it anyways? Another structure? Even a stone? Eventually, she decided on a cool champagne colored diamond in a tube setting and a very special allmost fur-like structure to the surface. What a customer! Here is the end result:

Once all the details had been agreed on, I happily went to my workshop today and here is the process:
When I had reduced the size I set out to file away the casting grooves and in the same process provide the surface with a structure. To me it made sense to take advantage of the many curved surfaces that meet and part and let the filing direction follow these surfaces. The result, I realized, was very much like the fur of my old cat Sebastian –a fantastically beautiful Abyssinian. These cats are very slender and agile and their short fur (with tickings) show off their amazing body to the max –and so did the filed surface of this ring! Here I have partly filed it –to show the difference

Here is the finished version with the original raw –and freshly cast one. The white is hiding the shine of the underlying silver very efficiently…

Then it was time to bend the gold wire, which took a little trial and error since it had to bend in two different directions and fit perfectly before I could solder it on. It’s always somewhat nerve wrecking to work with gold since it’s such a darned expensive material –approximately 40 times more expensive than silver! In order not to let any of it go to waste, you collect the filing dust on a sheet of paper as you work and save it for later cash-in.
After soldering the gold on and etching, the ring looks finished in shape, but awfully dull –the white zombie-look from the freshly cast version is back.

So, into the vile-smelling oxidization-bath (only to be done outside, in spite of the rain pouring down) and out comes something almost as dull looking, but now darker.

I love the transformation that happens when the final polishing sets in. It’s a bit like my childhoods magic markers –I t looks horrible, and all of a sudden, magic happens! Same here –Silver starts to shine and the item in my hands turns into a gorgeous piece of jewelry. Here it is (to the right) together with the original (to the left)

If you want to buy the original, you can do so here. The “naked” version, without any gold or oxidization is here.
This story has an add-on:
Sadly, my customer experienced a terrible mishab: One of the bigger golden balls fell off! Obviously I hadn't been soldering it thoroughly enough and of cause took it back immediately to change it. Then we atsrted chatting again. perhaps a few more changes, now I was at it anyways? Another structure? Even a stone? Eventually, she decided on a cool champagne colored diamond in a tube setting and a very special allmost fur-like structure to the surface. What a customer! Here is the end result:

Thursday, November 5, 2009
My tumble polisher has arrived!!! Hooray!
Naturally I had to immediately create something that used the full potential of it (polishing and hardening is tumbled long enough) and so I threw myself into creating a chain consisting of 38 individual links. Most of them are curly, but 13 of them are just oval hoops. The curly ones are just SO my style although a bit of a hassle to create:
First I ran up one or two ends with the torch (basically melting the tip of the silver wire, which then behaves like any other liquid and shapes a drop. In order to get the right curve to the finished shape, I angled the wire to almost horizontal, forcing the drop to hang almost sideways from the wire).

Then I shaped the individual hoops (and I mean individual –no two are the same) and soldered half of them close. After etching I hammered chosen parts flat in order to lend it the art nouveau “schwung” I always crave of my lines and started assembling the soldered hoops with the still open. Soldering the rest of the hoops too was a tad challenging: a lot of small pieces of solder to place and NOT to accidentally tilt off again. And noooo… I was too lazy to do it in small quantities – I did the whole chain in one go! Luckily I succeeded *grin*. Afterwards I hammered details on the freshly soldered chains -now much harder to get to right becaus eof the links they were connected too, but I managed quite well.

And so the new tumbler came into use and didn’t let me down: After 4 hours of tumbling (these are delicate things, so I wanted them to harden a lot to keep their shape) I was very satisfied with the result.

However, after having looked at it for some hours, I decided to add a little extra and replaced one of the round hoops with one made of 18 carat gold. You don’t notice at the first glance, but it’s just so cool and understated and makes the whole thing very special.

It took me over 6 hours to create this chain (plus tumbling of cause), but I am very satisfied with the result, and hurried to take a picture of my mum wearing it.

By the way:
When I was listing this chain on Etsy I measured it and counted the links: There are 38 links and it measures 83 cm! Spooky, eh?
This necklas was sold end of november. You can still see more pictures of the finished item here. I loved it and will therefore probably create something similar again. Perhaps with some set stones?
First I ran up one or two ends with the torch (basically melting the tip of the silver wire, which then behaves like any other liquid and shapes a drop. In order to get the right curve to the finished shape, I angled the wire to almost horizontal, forcing the drop to hang almost sideways from the wire).

Then I shaped the individual hoops (and I mean individual –no two are the same) and soldered half of them close. After etching I hammered chosen parts flat in order to lend it the art nouveau “schwung” I always crave of my lines and started assembling the soldered hoops with the still open. Soldering the rest of the hoops too was a tad challenging: a lot of small pieces of solder to place and NOT to accidentally tilt off again. And noooo… I was too lazy to do it in small quantities – I did the whole chain in one go! Luckily I succeeded *grin*. Afterwards I hammered details on the freshly soldered chains -now much harder to get to right becaus eof the links they were connected too, but I managed quite well.

And so the new tumbler came into use and didn’t let me down: After 4 hours of tumbling (these are delicate things, so I wanted them to harden a lot to keep their shape) I was very satisfied with the result.


It took me over 6 hours to create this chain (plus tumbling of cause), but I am very satisfied with the result, and hurried to take a picture of my mum wearing it.

By the way:
When I was listing this chain on Etsy I measured it and counted the links: There are 38 links and it measures 83 cm! Spooky, eh?
This necklas was sold end of november. You can still see more pictures of the finished item here. I loved it and will therefore probably create something similar again. Perhaps with some set stones?
Halloween pictures
Haloween came and went –and we went to the party. Here are a few pics from the preparation and party itself (costume and grand make-up in use). Enjoy!
Before (everyone look as fat, dull and boring as possible!)

During the preparation


After (hooray! Let's party!)

And one of yours truly with her main prop: the absinth bottle -yum!

Subscribe to:
Posts (Atom)